
 |
| OSX Mavericks from www.Apple.com |
Hopefully, you saw the Apple Media Event and saw the new introductions. I missed it but I hope to watch it later if I can view it on my Apple TV (which I didn't hear of any updates for). There were some good announcements today. Here is a quick summary:
OSX Mavericks is available and FREE at the Mac App Store. Thanks to MacRumors for that information. You can access OSX Mavericks by clicking here. Mavericks comes with over 200 new features which I'll cover in depth later...maybe not all 200 but the major updates. So, hurry and get Mavericks!
iPad Air: The latest full size iPad was introduced and is now called the iPad Air because it is thinner and lighter than its predecessors and comes with a Retina display as usual. It also has a 64-Bit A7 processor and it comes with sizes up to 128 GB's of storage. See more details here.
iPad Mini: The latest generation of iPad Mini now comes with a Retina display. I know many people were waiting on that so it's finally here. If this is what was holding you back from getting an iPad Mini...then wait no longer...well, a little longer...they should be released in November. The new iPad Mini is a little thicker and heavier than its predecessor but hopefully we won't be able to really tell the difference. It also has a 64-Bit A7 processor and comes in sizes up to 128 GB's of storage. See more details here.
Macbook Pro with Retina: There was no update for the normal Macbook Pro but the 13" and 15" Macbook Pros with Retina were updated with new Haswell processors and faster Flash storage. The entry level price has also dropped on the Retina Macbook Pros by $200. See more details here.
You can watch the full event here if you haven't seen it.
I hope you enjoyed the announcements from Apple and we will dive deeper into them later.
What are your thoughts about Apple's announcements? What products are you excited about?
If you found this helpful, make sure you leave a comment, share it, "Like" us on Facebook, and follow me on Twitter!


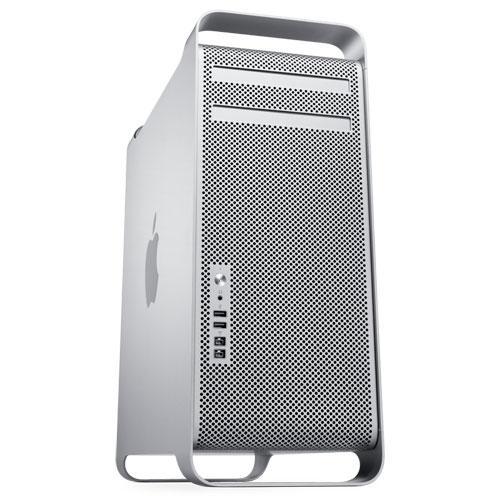 The new
 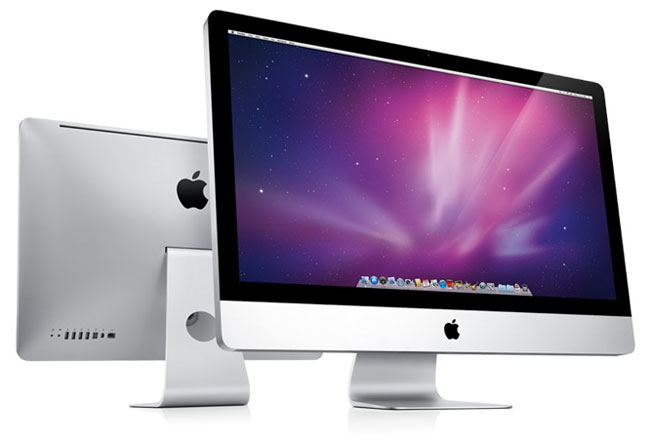 For instance, the
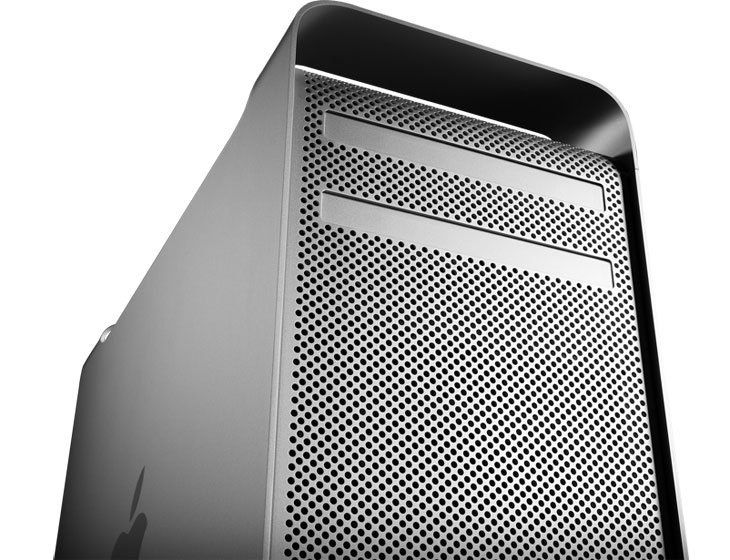
 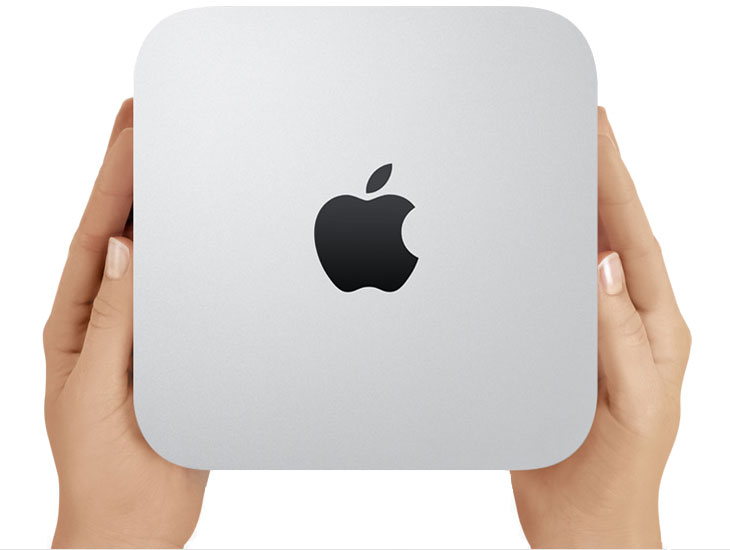 All Mac desktops are equipped with two types of drives that serve distinct purposes: a hard drive for storing data and an optical drive for accessing and burning data on CDs and DVDs. Also, its Superdrive feature with double-layer support enables all three desktops to read and burn CDs and DVDs.
 If you prefer a unit that requires a minimal space, you can choose between the